
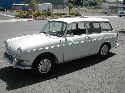
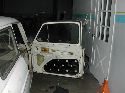
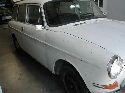
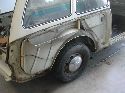
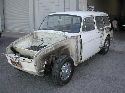
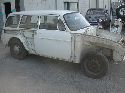
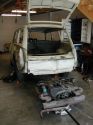
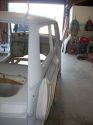
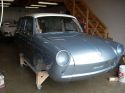
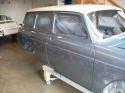
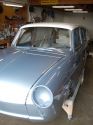
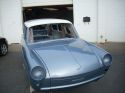
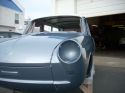
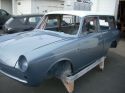
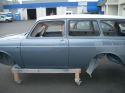
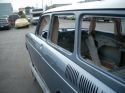
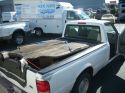
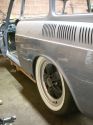
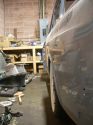
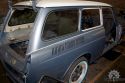
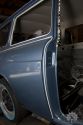
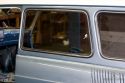
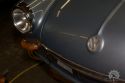
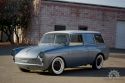
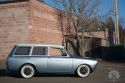
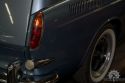
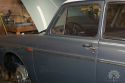
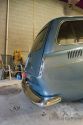
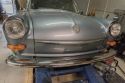
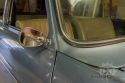
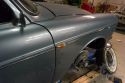
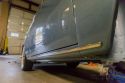
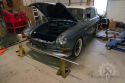
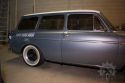
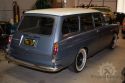
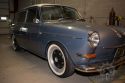
 Very original Squareback, as delivered. |
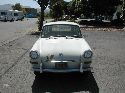 Very original Squareback, as delivered. |
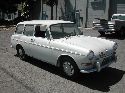 Very original Squareback, as delivered. |
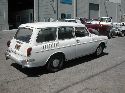 Very original Squareback, as delivered. |
 Very original Squareback, as delivered. |
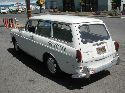 Very original Squareback, as delivered. |
 Very original Squareback, as delivered. |
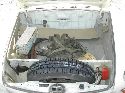
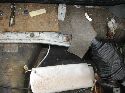
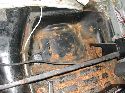
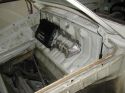
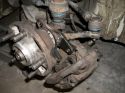
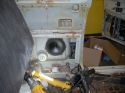
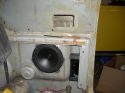
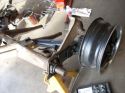
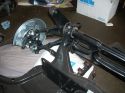
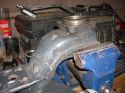
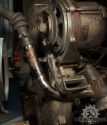
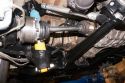
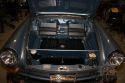
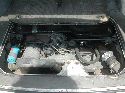 Original Type 3 pancake motor. |
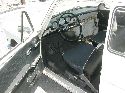
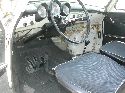
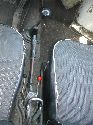
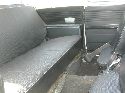
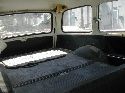
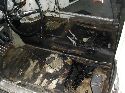
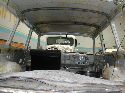
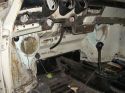
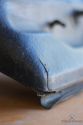
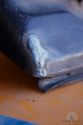
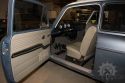
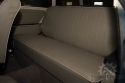
 Worn out interior. |
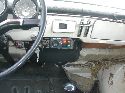
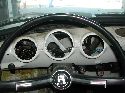
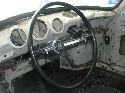
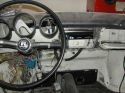
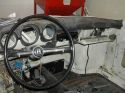
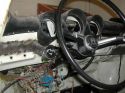
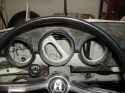
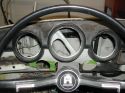
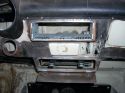
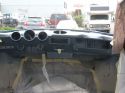
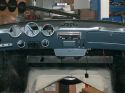
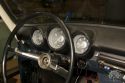
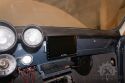
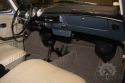
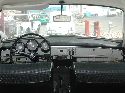 Original dash. |
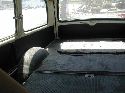
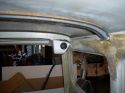
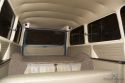
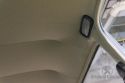
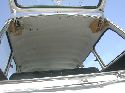 Decent headliner. |
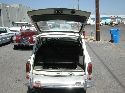
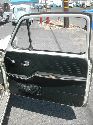
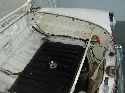
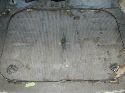
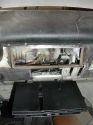
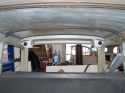
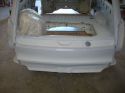
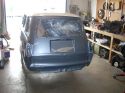
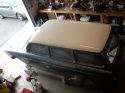
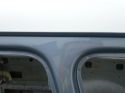
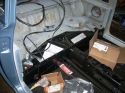
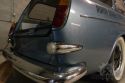
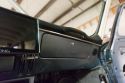
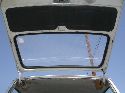 Rear hatch. |
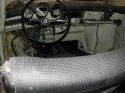
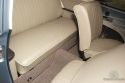
 Interior as delivered. |
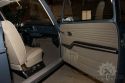
 Interior as delivered. |
 Interior as delivered. |
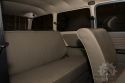
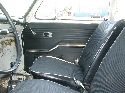 Interior as delivered. |
 Interior as delivered. |
 Interior as delivered. |
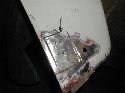
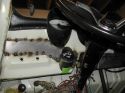
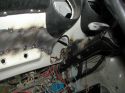
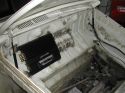
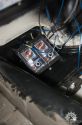
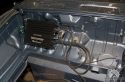
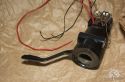
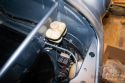
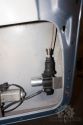
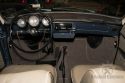
 Interior as delivered. Previous owner installed oil/volt warning system. Neat, but ugly, gotta go. |
 Interior as delivered. |
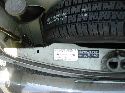
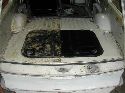
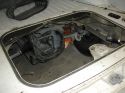
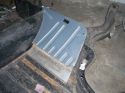
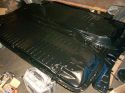
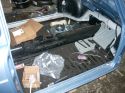
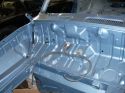
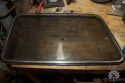
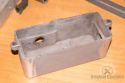
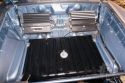
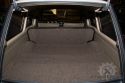
 Trunk in nice shape. |
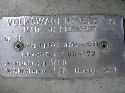 VIN plate. |
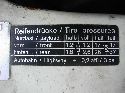 Tire pressure sticker for documentation purposes. |
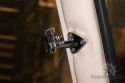
 Location of plates and stickers. |
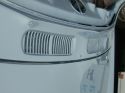
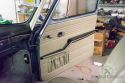
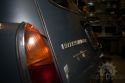
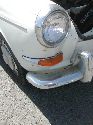 Original turn signals. |
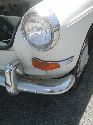 Original turn signals. |
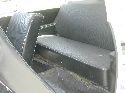
 Interior as delivered. |
 Interior as delivered. |
 Interior as delivered. |
 Interior as delivered. |
 Interior as delivered. |
 Interior as delivered. |
 Interior as delivered. |
 Interior as delivered. |
 Interior as delivered. |
 Seats removed. |
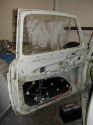
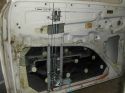
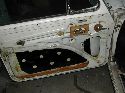 Door panels removed. |
 Door panels removed. |
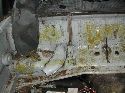
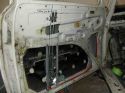
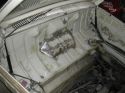
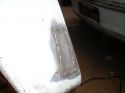
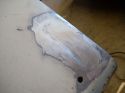
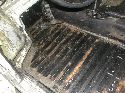 Sound deadening removed. |
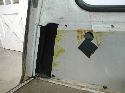
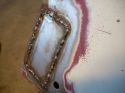
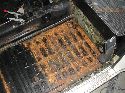 Sound deadening removed. Superficial rust. |
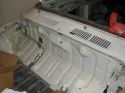
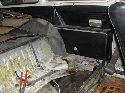 Rear seat out. |
 Interior panels out. |
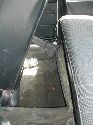
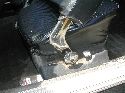
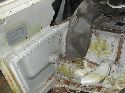
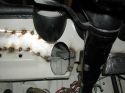
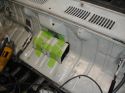
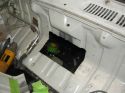
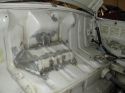
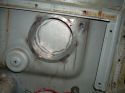
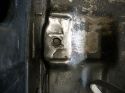
 Under the rear seat. |
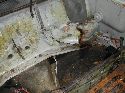 Under the rear seat. |
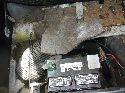
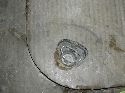
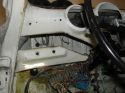
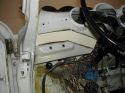
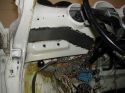
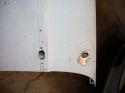
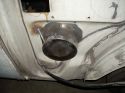
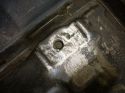
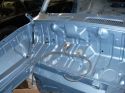
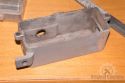
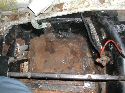 Battery panel, SOLID! |
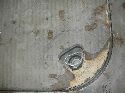
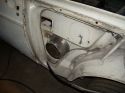
 Passengers side is solid as well. |
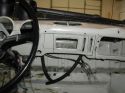
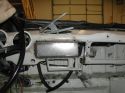
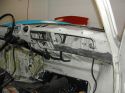
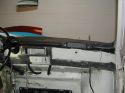
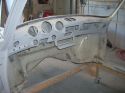
 Dash stripped. |
 Dash stripped. |
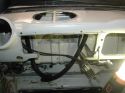
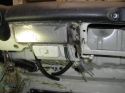
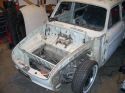
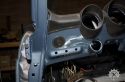
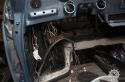
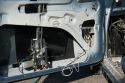
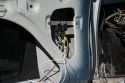
 Front stripped. |
 Front stripped. |
 Exterior trim removed. |
 Exterior trim removed. |
 Dash stripped. |
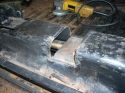
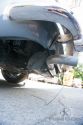
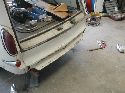 Bumper off, bent rear apron. |
 OE Vinyl |
 OE Vinyl |
 OE Vinyl |
 OE Vinyl |
 Passenger rear fender removed. |
 All four fenders and front lid off. |
 All four fenders and front lid off. |
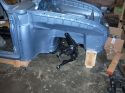
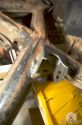
 Passenger front fender rust. |
 Passenger front fender rust. |
 Passenger front fender rust. |
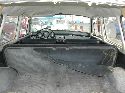
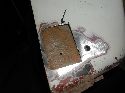
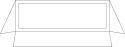
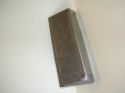
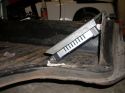
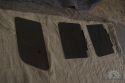
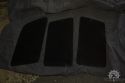
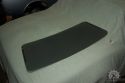
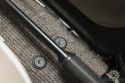
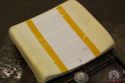
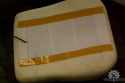
 Rear matting documentation. |
 Rear matting documentation. |
 Rear matting documentation. |
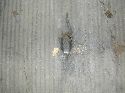 Rear matting documentation. |
 Rear matting documentation. |
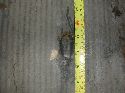 Rear matting documentation. |
 Rear matting documentation. |
 Interior completely stripped out. |
 Cleaning off the old glue so that new glue will stick for reinstallation. |
 Custom stereo mount on paper. Cut-n-Fold. |
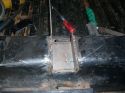
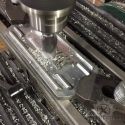
 Stereo plate in metal. Ready to weld in. |
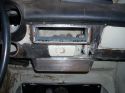
 The dash before cutting. |
 Ashtray and heater controls cut out. |
 Ready for the stereo plate. |
 Stereo plate welded in and ashtray/controls below. |
 Filled in the hole on the right of the stereo. Also put the actual ash tray into place. Compare the shape of the ashtray to the stereo plate. |
 Engine out and ready to be shipped off. |
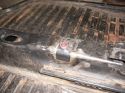
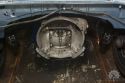
 The empty engine bay, ready for a 2056 Type IV! |
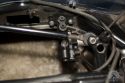
 Wiper mechanism was trimmed and modified to clear the stereo. |
 The wiper motor was relocated to the passengers side. |
 The lower dash extension is shaping up. Right side complete. |
 The lower dash extension is shaping up. Right and center complete. |
 Left side of dash cut out. |
 Paper template in place. |
 Metal tack welded in. |
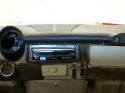
 Stereo head unit set into place. |
 Stereo head unit set into place. |
 Stereo head unit set into place. |
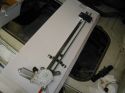 Window lift motor. |
 Tracks will need to be shortened. |
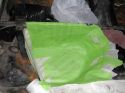
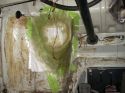
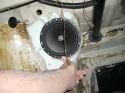
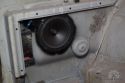
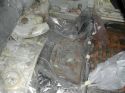 Getting ready to build the subwoofer mold. |
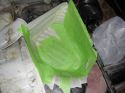
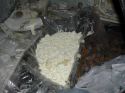 The spray foam mold setting up. |
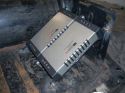
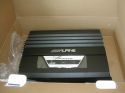 5 channel theater amplifier. |
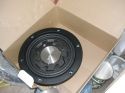 Pioneer shallow subwoofer. |
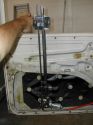
 Power window motor rough installation. |
 Power window motor installed. |
 Power window motor installed. |
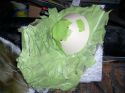
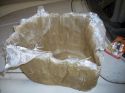
 Creating a mold for the fiberglass subwoofer box. |
 Creating a mold for the fiberglass subwoofer box. |
 First lower guage roughed in. |
 First lower guage roughed in. |
 First lower guage roughed in. |
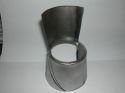
 Creating a custom gauge mount. Start with this cone shape, with a flange for the gauge to sit on. |
 The hole for the gauge. |
 The hole for the gauge. |
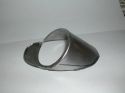
 Cut the top section of the cone off and flip it. |
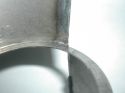 Welded and ground flush. |
 Cut to shape for installation in the dash. |
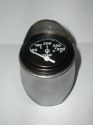 With a gauge test fit. |
 Matching up the right side with the left so it looks even (harder than it sounds because the dash isn't symmetrical). |
 Right side welded in and ground smooth. |
 Right side welded in and ground smooth. |
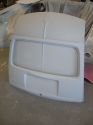
 Front hood springs replaced with gas shocks. |
 The trunk before I start cutting. |
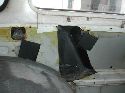
 Removed the center spring support, and cut out the section of metal to make room for the Playstation. |
 The hole I cut. |
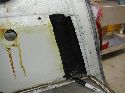
 The piece welded back in with side covers fabricated to look even. |
 The piece welded back in with side covers fabricated to look even. |
 Slider mounts for the PS2 welded in. |
 Slider mounts for the PS2 welded in. |
 Slider mounts for the PS2 welded in. |
 Alpine theater amplified mounted and ready. |
 Alpine theater amplified mounted and ready. |
 Alpine theater amplified mounted and ready. |
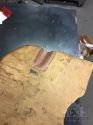
 'Billet' acrylic ready to be formed into reverse light lenses. |
 Cut lens back from the machine shop, bottom. |
 Cut lens back from the machine shop, top. |
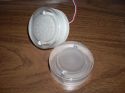
 LED pack fits perfectly inside. |
 Polished exteriors make these lenses look factory. |
 LEDs lit up. The room is actually fully lit, but the camera adjusts to make the LED light 'normalized', which makes the room look dark. |
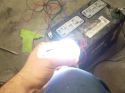 LEDs lit up but with the camera 'locked'. This is what they look like in person. Almost too bright to look at. |
 944 suspension pieces ready to get put on the car once some more parts come in. |
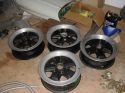 16" Fuchs waiting for tires. |
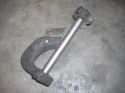
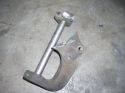
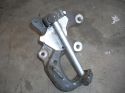
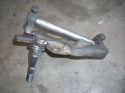
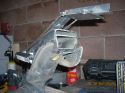
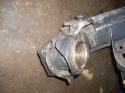
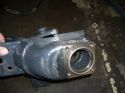
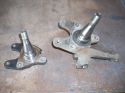 Front 944 Spindles get trimmed (stock on right). |
 Front 944 Spindles get trimmed (stock on right). |
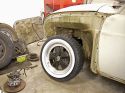 Brand new Coker Tires 206/60/16 tires mountes on the fuchs. LOOK AWESOME! |
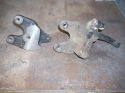
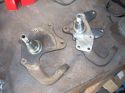
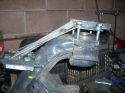
 Jig holding stock spindle mounts in the correct position. |
 Jig holding stock spindle mounts in the correct position. |
 944 spindle tacked onto Type 3 mounts. |
 944 spindle tacked onto Type 3 mounts. |
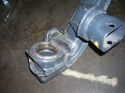
 Final welded, stock on the left, 944 on the right. |
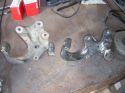 Final welded, stock on the left, 944 on the right. |
 Front speaker mounts fiberglassed in. |
 Chicken wire, masking tape, and MDF make the 'mold'. |
 After bodyworking with body filler for a smooth finish. |
 6.5" mid-range speaker will fit right in. |
 Held in place. |
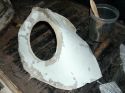
 Subwoofer enclosure pulled out and ready for MDF top. |
 PS2 cover door welded in. |
 PS2 cover door open. |
 The dash is finished. Tweeter mount holes cut on either side. |
 Front suspension mods all finished. |
 Front suspension fully test-assembled. |
 Full 944 components with Type 3 attachment points. |
 Rear tweeters installed in new hinge covers. |
 Rear tweeters installed in new hinge covers. |
 Rear tweeters installed in new hinge covers. |
 Front mid-range speaker boxes mounted. |
 Rear midrange speakers and crossovers. |
 Rear midrange speakers and crossovers. |
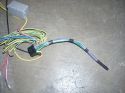 Stereo wiring harness with speaker outs tied off. |
 Stereo powered up. |
 Stereo powered up. |
 Side marker holes cut into the fenders. |
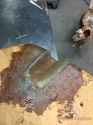
 Rust at the bottom of the front fenders. |
 Rust at the bottom of the front fenders all welded and ground. |
 Rust at the bottom of the front fenders. |
 These 'boxes' will protect the rear midrange speakers from possible weather/water/mud. |
 These 'boxes' will protect the rear midrange speakers from possible weather/water/mud. |
 Stripping the car back down to prepare for paint. |
 The midrange speaker boxes viewed from inside the car. |
 Paint work by Altissimo. |
 Paint work by Altissimo. |
 Paint work by Altissimo. |
 Paint work by Altissimo. |
 Paint work by Altissimo. |
 Paint work by Altissimo. |
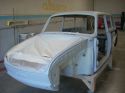
 Back from Altissimo. |
 Back from Altissimo. |
 Back from Altissimo. |
 Back from Altissimo. |
 Back from Altissimo. |
 Back from Altissimo. |
 Awesome paint job by Altissimo. |
 Beautiful paint job by Altissimo. |
 Stunning paint job by Altissimo. |
 Perfect paint job by Altissimo. |
 Smooth paint job by Altissimo. |
 Glass paint job by Altissimo. |
 Gorgeous paint by Altissimo. |
 Beautiful paint by Altissimo. |
 Well done paint by Altissimo. |
 Really nice paint by Altissimo. |
 The best paint by Altissimo. |
 My paint by Altissimo. |
 Torn/bent pedal stop nut. |
 Fixed pedal stop nut. |
 Making a home for seat heater switches. |
 More seat heater switch fab. |
 Seat heater switch test fit. |
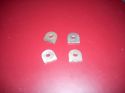 Fabricated crossover mount tabs. |
 Crossover mount tabs welded in. |
 Modified foot cover to clear crossovers. |
 Everything test fit. |
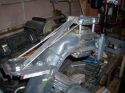
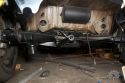
 Rear IRS mounts welded in and trailing arm test fit. |
 Rear IRS mounts welded in and trailing arm test fit. |
 Pan and other parts heading off to Vaider Powdercoating. |
 Pan is better than new. |
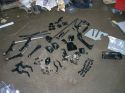 All the powdercoated parts. |
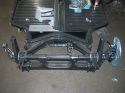 Front end coming together. |
 Dash in progress. |
 Stereo in progress. |
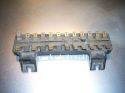 Fuse panel before. |
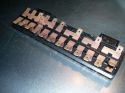 Fuse panel after cleaning. |
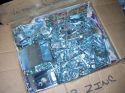 20 lbs of zinc plating. |
 Assembling the chassis. |
 Assembling the chassis. |
 Body back on the pan. |
 Body back on the pan. |
 Body back on the pan. |
 Stereo being installed. |
 Stereo being installed. |
 Rear trailing arms before mods. |
 Rear trailing arm jig made. |
 Rear trailing arm jig made. |
 Rear trailing arm bearing carrier cut off. |
 Rear trailing arm bearing carrier moved inboard 25mm. |
 Rear trailing arm bearing carrier moved inboard 25mm. |
 Finished welding. |
 Finished welding. |
 Finished welding. |
 Rear wheel test fit. PERFECT! |
 Rear wheel test fit. PERFECT! |
 Reassembly |
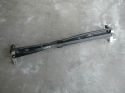
 Trapeze bar welded in. |
 Front crossovers mounted. |
 Stereo components going back in. |
 Wiring |
 Rebuilt steering column. |
 IRS conversion pivots welded. |
 Front end assembly |
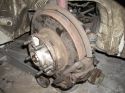
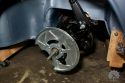
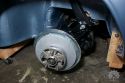 New 944 rotor and wheel bearings. |
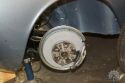 944 caliper installed. |
 Almost ready for brake fluid. |
 Steering column in place. |
 Rear woofers installed. |
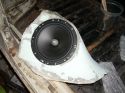
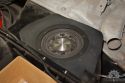 Subwoofer back in place. |
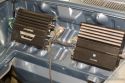 Both amps installed. |
 19mm 911 master cylinder |
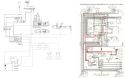 Wiring diagram in progress. |
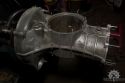
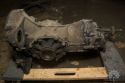 IRS Transmission |
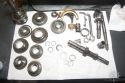
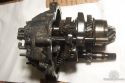 Gear stack out. |
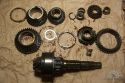 Rebuilding transmission. |
 Rear suspension powder coated |
 Rear subframe powdercoated and installed. |
 Windows tinted (looks darker than reality) |
 Windows tinted (looks darker than reality) |
 Windows tinted (looks darker than reality) |
 All windows tinted to this slight level. |
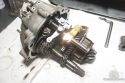
 Transmission rebuilding. |
 Clean case. |
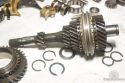 Input shaft assembled. |
 Gear stack ready to go in. |
 Transmission installed. |
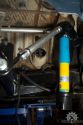
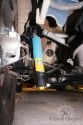
 Bilstein shocks. |
 Rear brake lines and tee. |
 911 master cylinder, reoriented brake lines. |
 Pedals in place. |
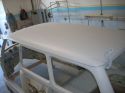
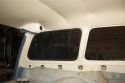
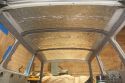 Sound proofing the roof. |
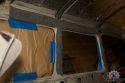 Padding on the pillars. |
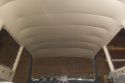 Headliner in. |
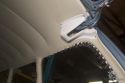 Headliner detail. |
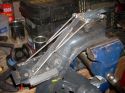
 Kafer Brace adapted to fit Type 3. |
 Kafer Brace install (engine is mockup). |
 Oil filler tube adapted. |
 Interior complete, first windows in. |
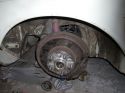
 Fender on. |
 Fender on. |
 Pop-out window with new seal. |
 Pop out windows installed. |
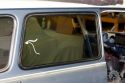 Pop outs, minus latches. |
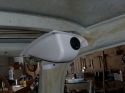
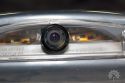 Backup camera and LED license lights. |
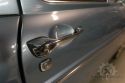
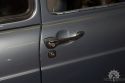 Door handles installed. |
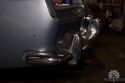 Rear bumper on. |
 Headlights and front trim coming together. |
 Body panels all on. |
 Body panels all on. |
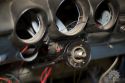
 Gauges installed. |
 Interior coming along. |
 Euro taillights and custom reverse lights. |
 Cracked seat base. |
 Welded seat base. |
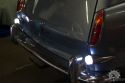 Reverse light test. |
 Side trim install. |
 Interior coming along. |
 Seat heaters installed. |
 Seat heater elements. |
 Seat heater elements. |
 Carbs installed with low profile filters. |
 Power window motors and relays. |
 Power window wiring. |
 Muffler test fit. |
 Carb Linkage Arms w/ extra. |
 Throttle linkage trimmed. |
 Remove logo from breather top. |
 Remove mounting tabs from breather. |
 Remove mounting tabs from breather. |
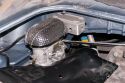 Breather mounted. |
 Dirty hatch striker. |
 Cleaned hatch striker. |
 Oil temp sensor installed. |
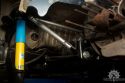
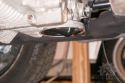
 Lower shock bolts and spacers installed. |
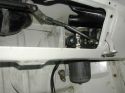
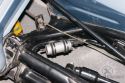 Electric fuel pump mounted. |
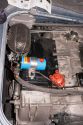 Breather, coil, and 123Ignition installed. |
 Door lock solenoid mounted. |
 Compressor wiring complete. |
 Door lock solenoid. |
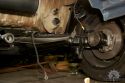
 944/Bug axle conversion. |
 Fuel tank installed. |
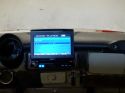
 Upgraded head unit to Joying Android. |
 Upgraded to 4ch amp. |
 Stainless steel rear bumper. |
 Stainless steel front bumper. |
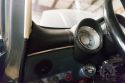
 Side mirrors. |
 |
 Lower trim installed. |
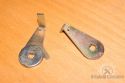
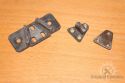
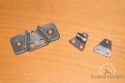
 Rechromed pop-out latches. |
 Rechromed reflector trim. |
 Rechromed door handles. |
 Modify glovebox for wiper linkage. |
 Modify glovebox for wiper linkage. |
 Modify glovebox for wiper linkage. |
 Dash trim installed. |
 Dash trim installed. |
 Dome light installed. |
 Alignment |
 Doors complete. |
 Door panels installed. |
 |
 |
 |
 |
 |
 |
 |
 |
 |
 |
 |
 |
 |
 |